A mirror is an essential accessory when it comes to interior decoration. Apart from the fact that adding mirrors to a room adds beauty and appeal to space, mirrors come with lots of functional benefits for the home.
In this article piece, I will be taking you through how to frame your full length mirror as a DIY project. Let’s dive in.
The tools and materials you will need
Needed Materials:
- Glass/Mirror Cutter
- Big mirror
- Three pieces of two-inch by four-inch wood for the mirror frame.
- Eight washers
- Eight pieces of bolts
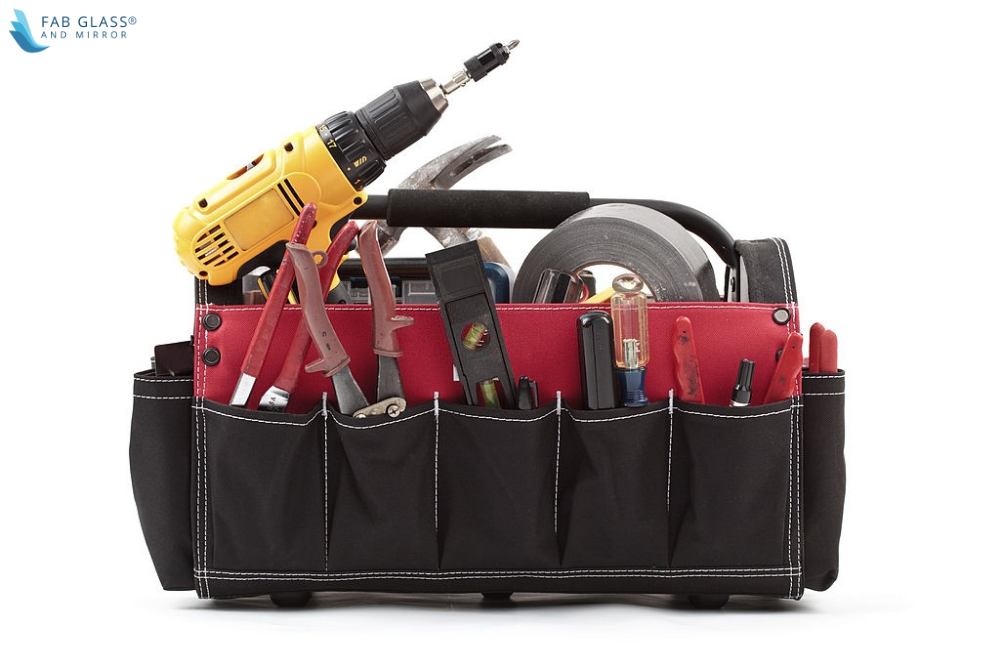
Needed Tools
- Buzzsaw
- Electrical screwdriver or drill
- Measuring tape
- Dry erase marker (black color)
- Pencil
- Protective eyewear
- Hand gloves
- Drill bit thinner than bolts
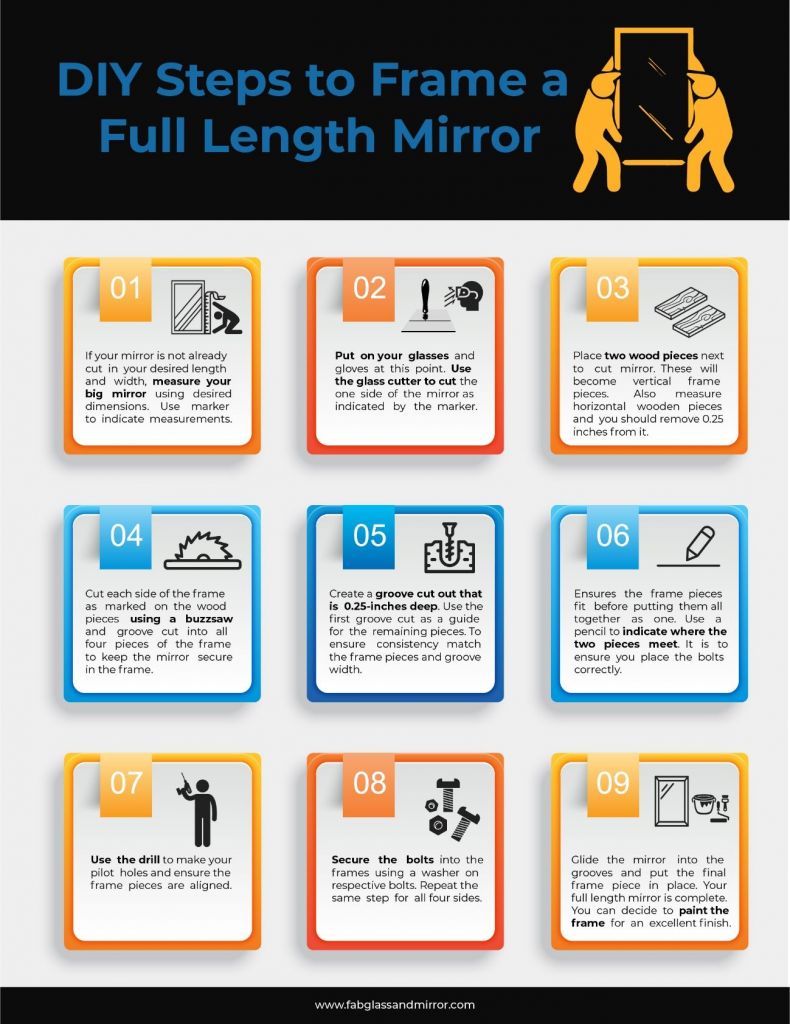
DIY Seps to frame a full lenght mirror
Step 1
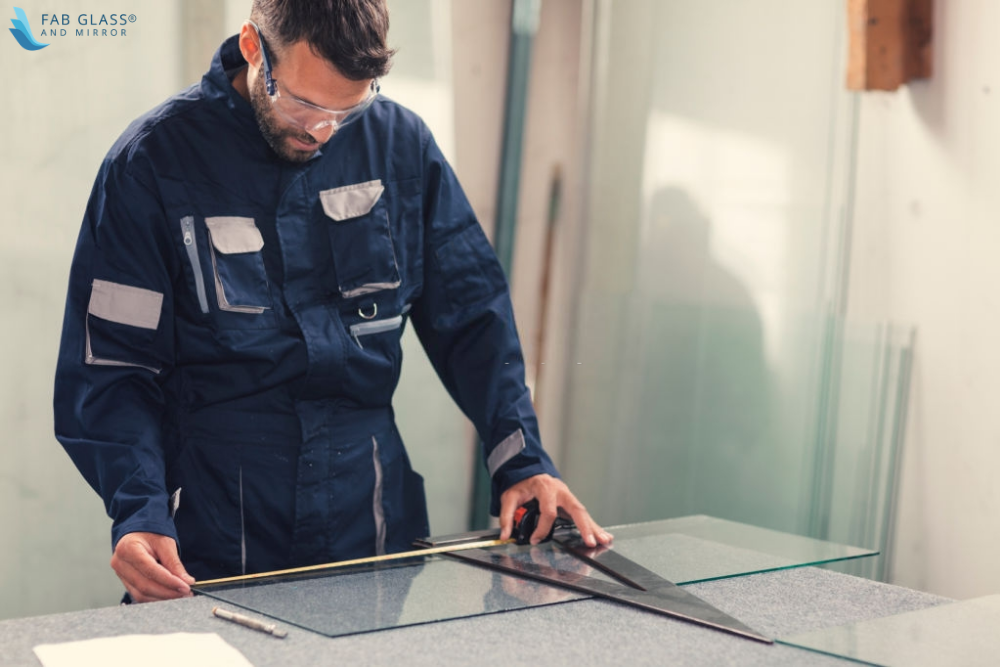
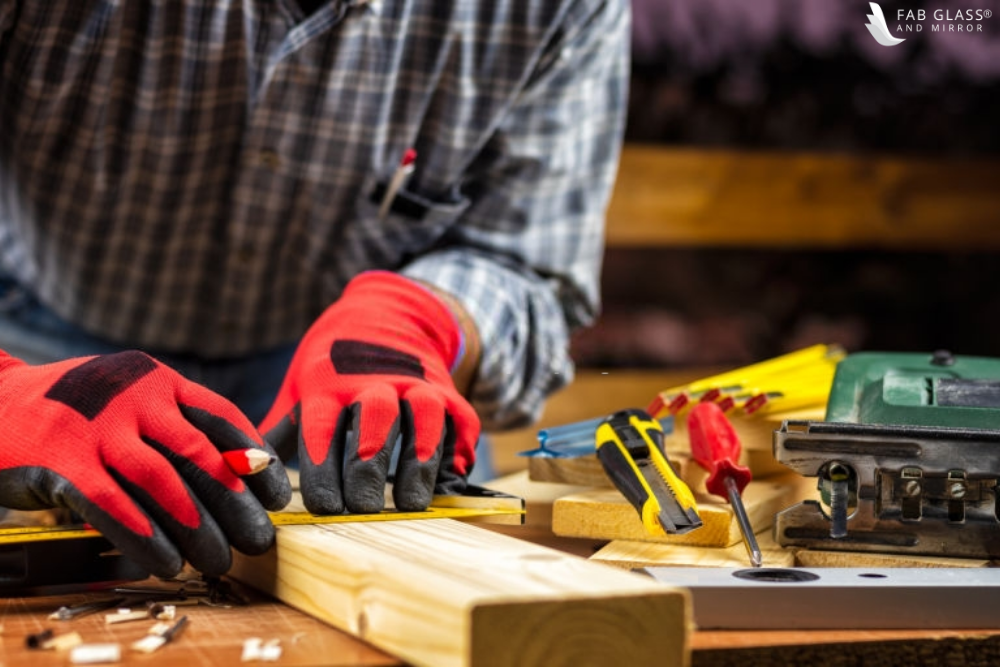
If your mirror is not already cut to your desired length and width, measure your big mirror using your desired dimensions. The measurements used for this project are 60 inches for the length and 20 inches for the width.
Use the black dry erase marker to indicate the measurements on the glass.
Step 2
You may want to put on your hand gloves and protective eyewear at this point. Use the glass cutter to score one of the measured sides on the mirror, as indicated by the dry erase marker. Score the mirror using the reflective or front-facing part. Line the mirror on the edge of a table and snap the scored part off.
You can also remove the scored piece by flipping the mirror over, place a 2-inch by 4-inch wood piece alongside the scored line. Then hold the wood piece firmly in place while pulling back the larger part of the mirror carefully.
Do this for all the measured sides until you have the mirror cut in your desired size.
Step 3
Place the two wood pieces next to the cut mirror. These will become the vertical frame pieces. Measure the pieces with extra six-inches above the mirror height and six-inches below the mirror height. Draw a line on the wood pieces to indicate the measured sizes.
The extra six-inch is intentional. It is to create a full length mirror design to look like a ladder.
Step 4
The next step is to measure the horizontal frame pieces. These are shorter than the vertical ones, and you should remove 0.5 inches from the actual measurements. This is because the mirror will be set into the frame on each side at 0.25 inches.
Step 5
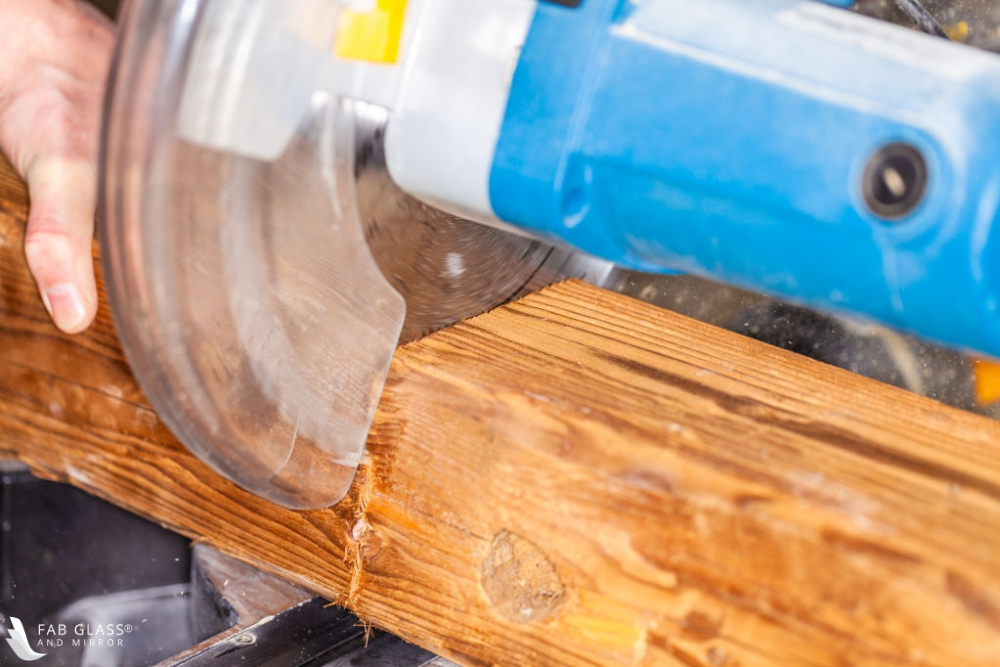
Cut each side of the frame as marked on the wood pieces in the previous step using a buzz saw.
Step 6
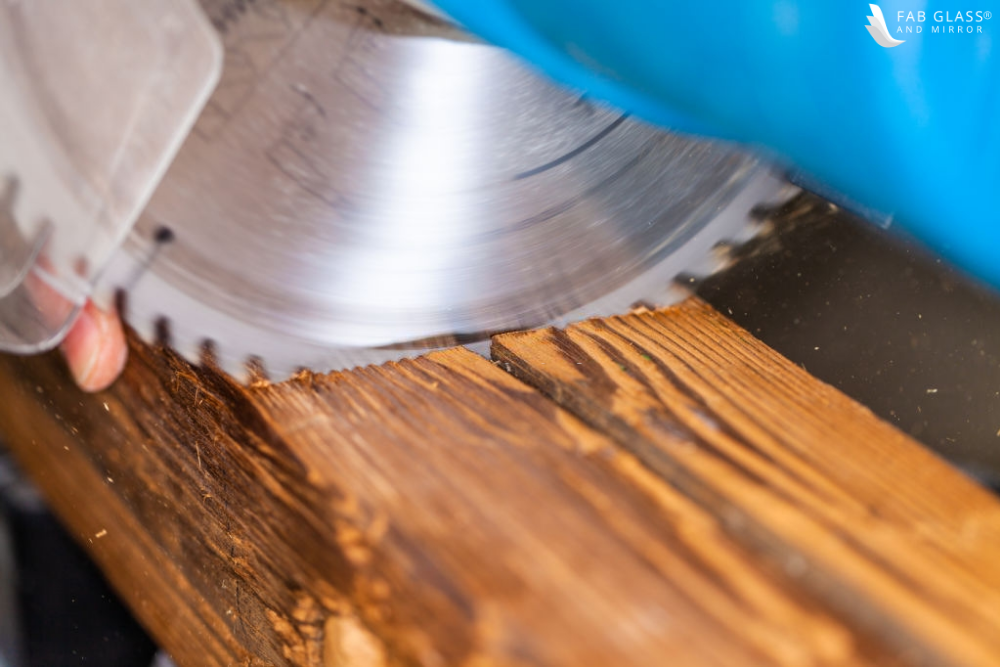
To keep the glass secured in the wood frame, a groove cut into all four pieces of the frame is essential. Set the buzz saw blades to protrude from the base at 0.25 inches.
Step 7
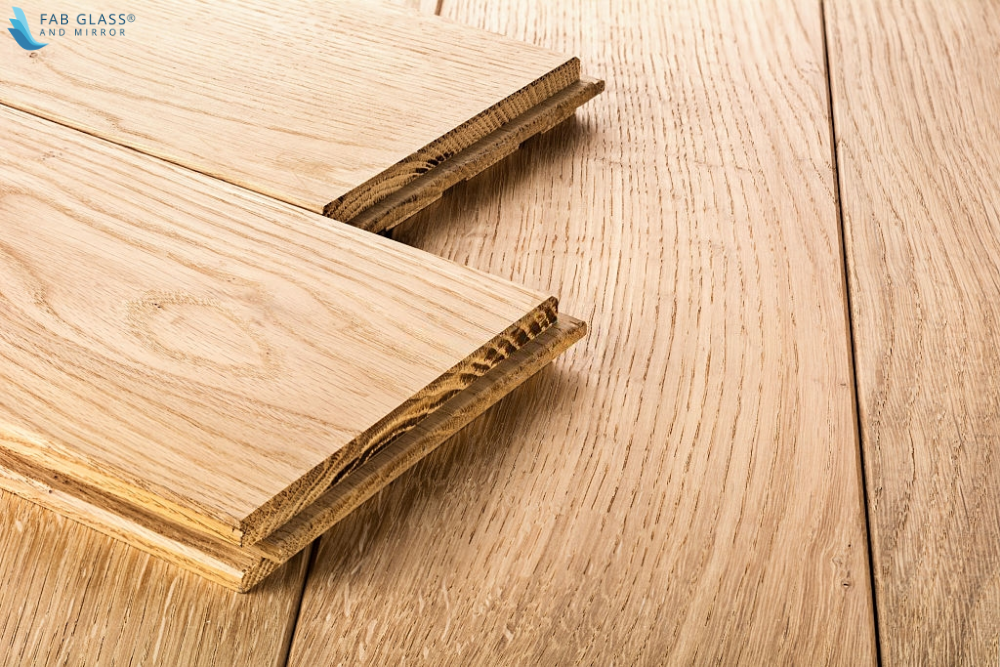
Trace a line along the center of one of the wood pieces and create a groove cut out that is 0.25-inches deep. Depending on how thick your glass is, you may need to make the groove cut a bit wider.
Place the frame piece over the mirror’s edge to figure if the mirror fits comfortably or if you should make the groove wider.
Step 8
Use the first groove cut as a guide for the remaining frame pieces. Match the frame pieces and note the groove width on all four to ensure consistency. Cut the groove on the remaining frame pieces.
Step 9
After cutting the grooves for all frame pieces, ensure the mirror fits in them and that the frame pieces align. To do this, place a vertical frame on the length of the mirror, then add a horizontal frame piece while the mirror is still lying on its side.
This may take some effort to balance, but it ensures the frame pieces fit before putting them all together as one.
Step 10
After checking how the mirror fits on all four sides, remove the long frame piece and one short frame piece. This should leave a long and short frame piece around the mirror. Use a pencil to indicate where the two pieces meet. It is to ensure you place the bolts correctly.
Step 11
Remove the mirror from the frame and turn the frame pieces to have the long frame piece resting on the short one. Rest the other end of the long frame on its short piece as well to ensure a straight balance.
Step 12
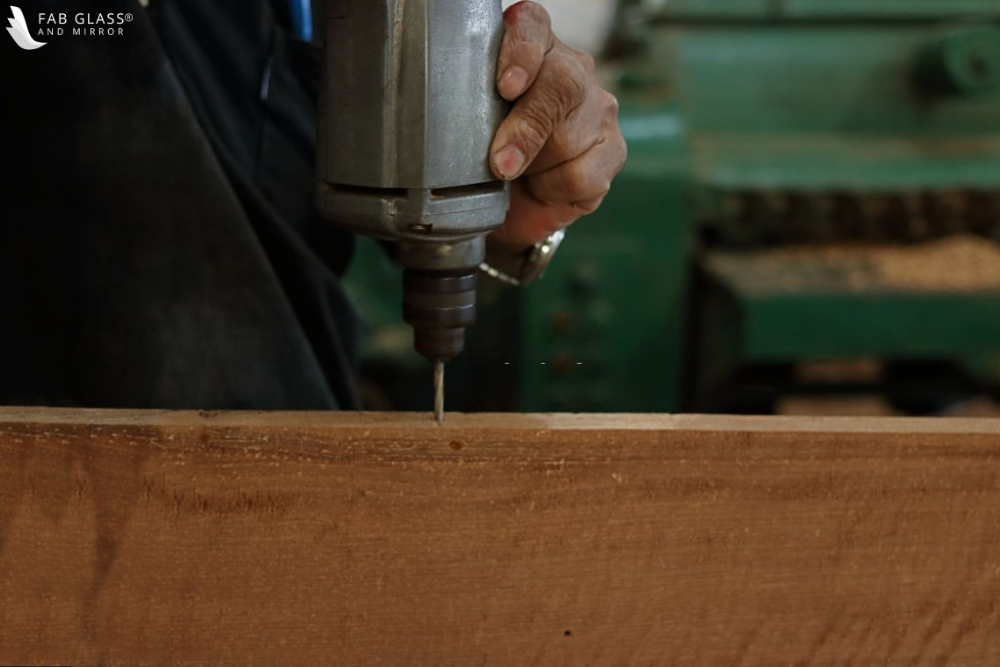
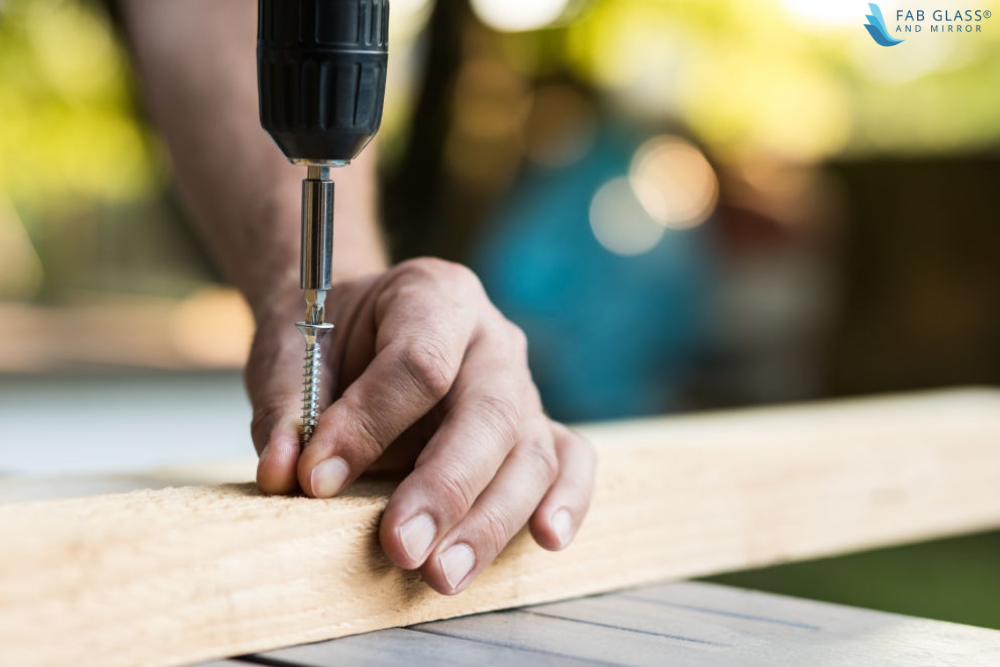
Use the marker to indicate the two points where you would like to drill your holes. Use the drill to make your pilot holes and ensure the frame pieces are aligned.
Step 13
Secure the bolts into the frames using a washer on respective bolts. Repeat the steps from step 10 to step 13 to attach the second horizontal piece on the same long piece.
Step 14
With three of the four frame pieces secured, flip the frame to have the side with a missing frame at the top. Glide the mirror into the grooves and put the final frame piece in place.
Go through steps 10 to steps 13 to secure all mirror sides with bolts and washers.
Step 15

Here you go; your full length mirror is complete and ready to hang on the wall. You can decide to paint the frame for an excellent finish or leave it unpainted for a raw look.